Home Project Insider · 7-Step Project Journey
Step 6 is installation day. Your home becomes a job site. Noise, dust, movement, and disruption are normal. Your goal is simple: keep the site safe, communicate through the right channel, and let the crew do their work.

Want to see options in your area?
Check availability to connect with independent providers near you.
Check AvailabilityTip: only select projects you actually want to discuss. Selecting multiple trades may result in contact from more than one company/provider.
TL;DR
- Your home becomes a job site. Noise, dust, movement, and disruption are normal.
- Secure pets/children and keep clear pathways. Safety beats convenience.
- Dumpsters and deliveries are common. Do not attempt to move equipment yourself.
- Hidden issues can be discovered at demo. Change orders exist to document scope changes.
- Speak up for safety or obvious wrong-location work. Wait for finishing on cosmetic items.
- Your goal in Step 6: let the crew work while you communicate through the right channel.
Installation day checklist
Quick checklist to reduce stress and prevent avoidable issues.
- Move vehicles so dumpsters/equipment can be placed without blocking you in.
- Secure pets and keep kids away from work zones.
- Clear pathways for interior projects. Remove fragile wall items near the work area.
- Identify unusual electrical/plumbing/HVAC lines and mention them before work starts.
- Save the production manager/superintendent contact. Use them for questions or concerns.
Full breakdown
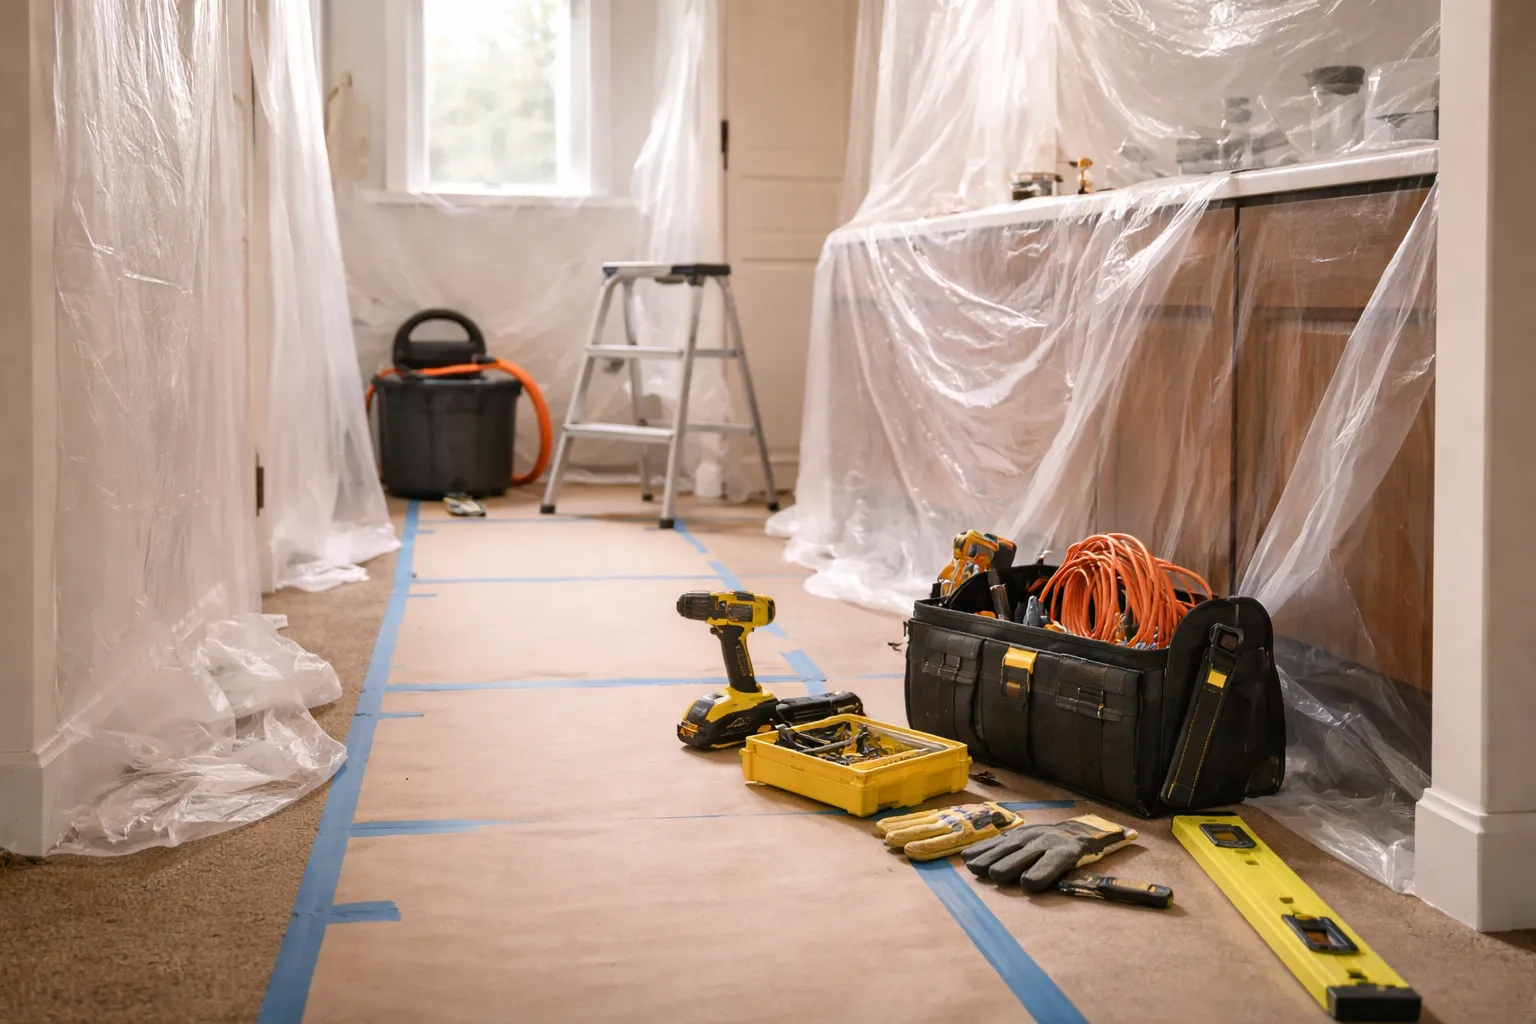
Installation day is the most visible and disruptive part of the entire project. It is the day your home officially becomes a job site.
For most homeowners, it comes with a mix of emotions. Excitement, anxiety, anticipation, and second-guessing are all normal. Even when it’s a change you want, it can still feel uncomfortable.
The installers feel it too. They want access to be clear, materials to be correct, and the job to go smoothly. Their goal is to do the work once, do it right, and avoid callbacks.
The Morning of Installation
Installation day usually starts early. Depending on the project, you may see installation crews arriving in trucks or vans, a trailer or box truck delivering materials, a supply house drop-off, or a dumpster delivered to the driveway.
Once a dumpster is placed, it typically cannot be moved easily. Do not attempt to move it yourself. If you have a preference for placement, communicate it ahead of time, but understand that logistics and access often determine final placement.
For interior projects, installers will confirm the work area and the path they’ll use to carry materials in and debris out. This is why clear pathways matter.
Communication With the Crew
Installers will introduce themselves and confirm the scope of work. Communication styles vary, and in some cases there may be language barriers. This is normal.
If you cannot communicate clearly with the crew, do not panic. You should have contact information for a production manager, assistant production manager, or superintendent. That is your primary communication channel during installation.
Sales representatives and project consultants are no longer running the job at this stage. Installation is owned by production.
Demolition and Preparation
Demolition is loud, messy, and disruptive by nature. Expect noise, vibration, dust, and constant movement.
Pets and children should be kept well away from the work area. Installers work with sharp tools, fasteners, and heavy materials. Crews are paid by the job, not by the hour, which means they move with purpose.
During demolition, installers may uncover issues that were not visible during the initial evaluation. Some minor issues are expected and already accounted for. Bigger discoveries may require a documented change.
Inspections and Code Requirements
If your project required a permit, inspections are part of the process. Some projects require a single final inspection. Others require midpoint inspections depending on the trade, municipality, and scope of work.
Midpoint inspections may occur while work is in progress. When a midpoint inspection is required, installers cannot proceed past certain stages until approval is granted. This is normal.
Final inspections occur once installation is complete. In most cases, the contractor schedules inspections on your behalf. Timing varies widely based on inspector availability.
Inspections exist to protect you as the homeowner. A contractor that follows inspection requirements and does not attempt to bypass them is operating the right way.
Installation in Progress
Once preparation is complete, installation begins. At this stage, the project may look rough before it looks finished. This is normal.
Trim, caulking, paint, and finishing materials are designed to hide seams and joints. What looks unfinished mid-installation is often exactly what it should look like at that point.
When to Speak Up vs When to Wait
Speak up immediately if:
- You see a safety issue
- Something is being installed in the wrong location
- There is visible damage outside the scope of work
- The crew is working on the wrong part of the home
Wait until finishing if:
- Seams look rough
- Trim is missing
- Caulking is incomplete
- Paint or finish work has not been done yet
Escalate to production, not the crew, if:
- You have questions about scope
- You are unsure whether something is included
- You want clarification on a change order
- You need to discuss scheduling or inspections
Installation crews are incentivized to do the job right the first time. When homeowners give them space to work and communicate concerns through the proper channels, everyone wins.
Finishing and Cleanup
As installation nears completion, the focus shifts to finishing work and cleanup. Crews will remove debris, pick up protective coverings, and clean the work area.
Cleanup will be thorough, but it will not be equivalent to a professional deep clean. Some additional homeowner cleanup is normal.
After the Crew Leaves
Once installation is complete, installers pack up and leave. Dumpsters are typically removed the same day or the following day. If your project spans multiple days, this cycle may repeat.
Installation day is loud, invasive, and tiring, but it is also where your project becomes real. At this point, the heavy lifting is done.
Ready for the Next Step
The next step is the day after installation, when the dust settles and you confirm what’s complete, what’s pending, and what warranty paperwork you should save.
Next Step: Day After Installation
Step 7 covers post-install walkthroughs, punch lists, final payments, and how to protect your warranty long term.
Next step: schedule your consultation.
Check availability to see who’s available near you.
Check AvailabilityTip: only select projects you actually want to discuss. Selecting multiple trades may result in contact from more than one company/provider.