Home Project Insider · 7-Step Project Journey
Step 7 is closeout and ownership. You live with the project, note anything that needs follow-up, finish paperwork, and save documentation that protects your warranty and your home value long term.

Want to see options in your area?
Check availability to connect with independent providers near you.
Check AvailabilityTip: only select projects you actually want to discuss. Selecting multiple trades may result in contact from more than one company/provider.
TL;DR
- Live with the project for 24 to 48 hours and note anything that needs follow-up.
- Expect a post-install check-in. Use it to confirm punch-list timing, inspections, and warranty docs.
- You may be asked for a review. Be honest and avoid any “incentive for review” pressure.
- Closeout usually includes final payment, completion paperwork (especially if financed), and warranty delivery.
- Save your records (permits, inspections, warranty, change orders, proof of payment).
- Your goal in Step 7: close out cleanly and protect yourself with documentation.
If Something Feels Off
Most post-install issues are small and fixable. The key is documenting them and routing them to the right person quickly.
- Take photos/videos the moment you notice something.
- Write a short punch list (what/where/when).
- Send it to your production/contact person and ask for a schedule to resolve it.
- Keep communication polite, clear, and in writing when possible.
For deeper guidance on payment disputes, holdbacks, and how liens work in general, see the separate FAQ page: “Payment Disputes, Holdbacks, and Liens.”
Full breakdown
In the 24 to 48 hours after installation is finished, you finally get to live with the project. This is when you notice whether everything feels right, whether something was missed, or whether there are small details that need follow-up.
For many homeowners, this is also when the emotional swing happens. Relief that the disruption is over. Excitement that the project is complete. Or sometimes concern that something doesn’t look exactly how you imagined.
All of that is normal.
Post-Installation Follow-Up
Shortly after the job is completed, you will likely be contacted by someone from the production or customer care team. This is often called a post-installation check-in.
The purpose of this call is simple:
- To confirm the project is complete
- To verify nothing is missing or incorrect
- To make sure you are satisfied with the outcome
If you have already identified an issue and reported it, this call is an opportunity to confirm that it has been logged and scheduled for resolution.
Reviews and Feedback
You may be asked to leave a review. Reviews matter, not just to the business, but to the people inside it. Installation crews are often evaluated, recognized, or incentivized based on customer feedback.
That said, reviews should always be honest. If a company attempts to bribe you for a review, that is a red flag. Google and other platforms do not allow incentivized reviews, and ethical contractors know this.
If your project had complications but the contractor actively worked to resolve them, that matters. How a company behaves when things go wrong is often more important than how they behave when everything goes right.
Final Payment and Financial Closeout
Once the project is complete and you have confirmed satisfaction, accounting will typically reach out to finalize payment.
Final payment may involve:
- Cash or check
- Credit card (often with a processing fee)
- Financing company fund release
If paying by credit card, be aware that processing fees are often passed along. Paying thousands of dollars with a credit card can add unnecessary cost unless you plan to pay it off immediately.
If you financed the project, you will likely be asked to sign a final completion document. This confirms that the work was completed according to the contract and authorizes the lender to release remaining funds to the contractor.
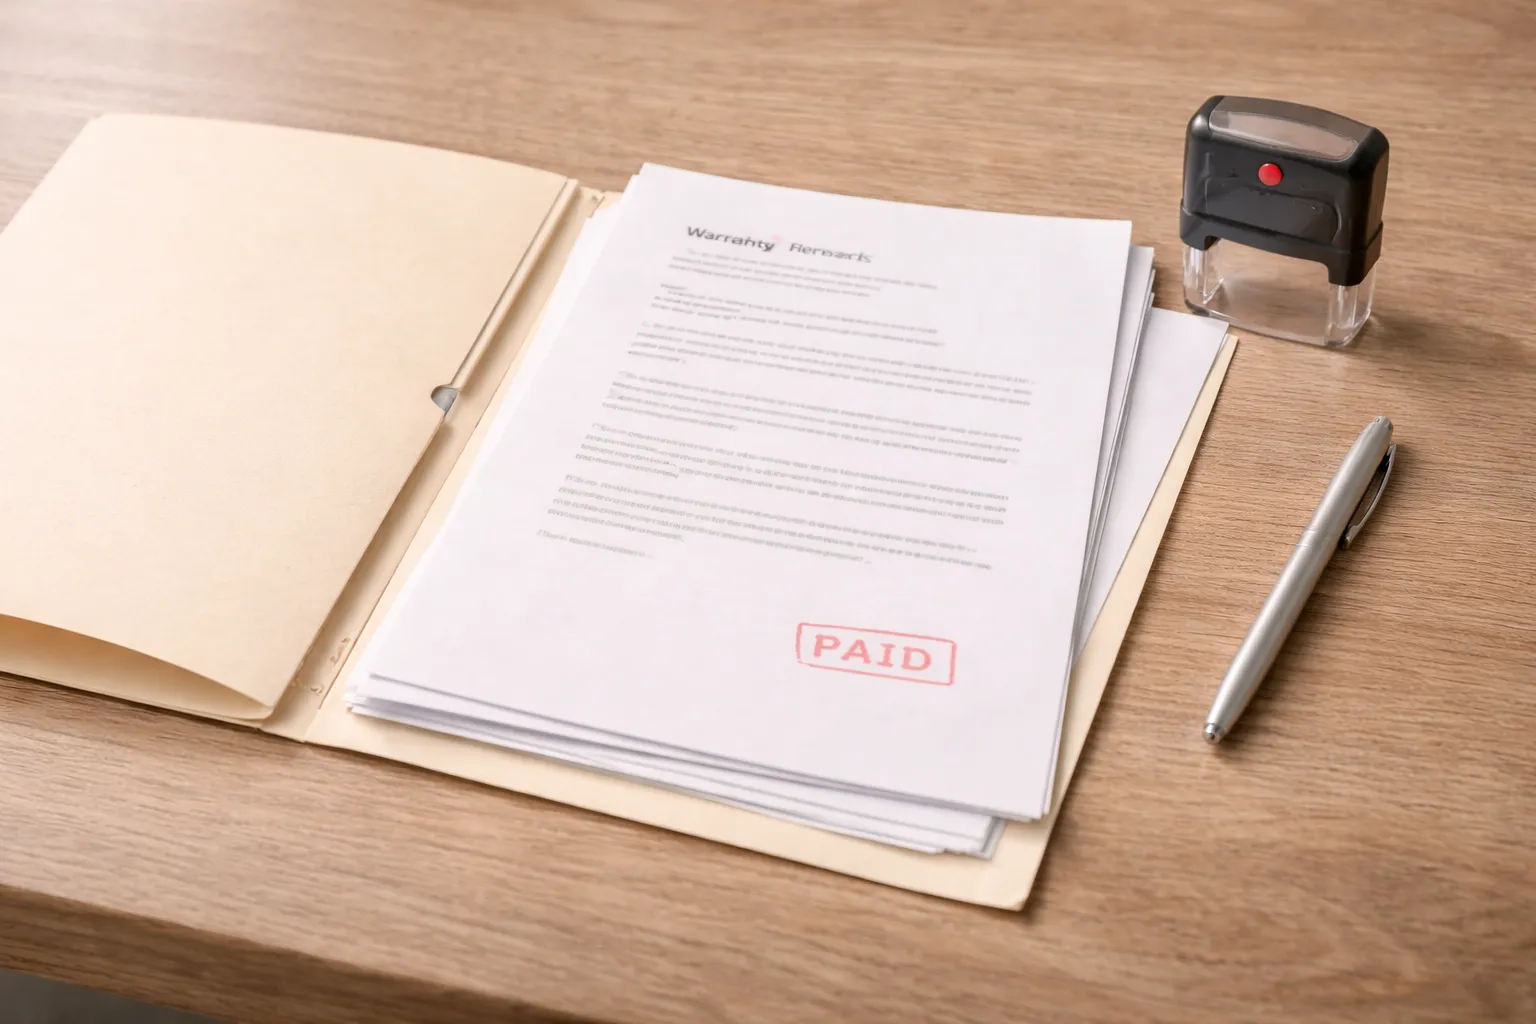
Notice of Commencement Closure and Warranties
Once payment is received and the project is closed out, the contractor should file to close the Notice of Commencement if one was required. This confirms the project is paid in full and no longer active against your property.
You should also receive warranty documentation. This may include:
- Contractor workmanship warranties
- Manufacturer material warranties
- Transferability terms, if applicable
Save these documents. Store them digitally and, if possible, keep a physical copy with your permit records. Warranty documentation is often requested during home sales, insurance claims, or future service needs.
Perspective Matters
Most projects, well over 99 percent, are completed without serious issues. The scenarios described here exist so you understand the process, not because they are likely to happen to you.
Many contractors are local businesses. They live in your community. They rely on reputation. Everyone involved is human. Mistakes can happen. What matters is how they are addressed.
Living With the Project and How It Pays Off Over Time
Once the dust settles and the crew is gone, the project starts to fade into the background of daily life. That is a good thing.
Over the first few days, you begin to live with the results instead of thinking about the process. Sometimes the biggest benefit is not visual at all. It is the absence of stress. The leak that worried you during storms is gone. The draft you lived with every winter is no longer there.
From a longer-term perspective, this is where the project really begins to pay off. Permitted, documented work matters for resale, insurance, and future service. The paperwork you saved often becomes just as valuable as the work itself.
Final Records and Long-Term Peace of Mind
Once everything is closed out, save these items in one place:
- Warranty documents
- Permit approvals and inspection sign-offs
- Change orders (if any)
- Proof of final payment
- Final completion paperwork (especially if financed)
At this point, your project is complete. You’ve gone from research, to selection, to installation, to ownership. Best of luck with your project.
You’re at the Final Step
If you want to review the process again, go back to Step 6 or return to the full journey.
Next step: schedule your consultation.
Check availability to see who’s available near you.
Check AvailabilityTip: only select projects you actually want to discuss. Selecting multiple trades may result in contact from more than one company/provider.